In this blog, I would be talking about the first successful
load into an Essbase application using FDMEE. I am new to FDMEE. Now there are
a few things to know. This is not the first stab that I have had at FDMEE. It
took some getting used to and it was definitely a long road to learn it a bit
more. This is because I come from a bit more old ETL school (Datastage to be
precise) so understanding a focused ETL tool was a bit difficult. Now getting
down to the basics of FDMEE.
This is the first screen that you see when you go to Data
Management in Workspace.

Now in the setup tab I would be doing the basic
configuration for application. The first thing that I do is I setup the system
settings for the “File” profile that I would be loading. That is shown in the
below snapshots.


Now, if you check the server where you have had FDMEE
installed you will see the folder structure is created for the profile type as
defined in the “Application Root Folder”

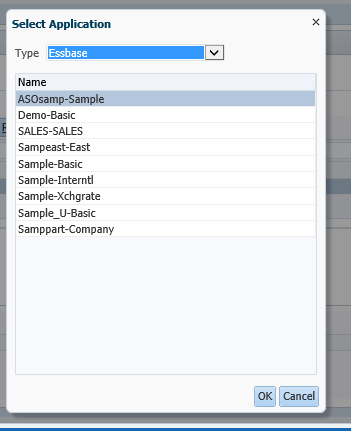
Now, I have created an Essbase application specifically for
FDMEE called Sales that I would be using for all the demo purposes. Now, in
some cases I have observed that just creating an Essbase application is not
enough since it will not show in the drop down for target application so I went
ahead and registered the application as shown in the below snapshots.
You right click on the application that you want to register
and hit the “Register” button. In all cases you should get a successful
registration message


Now I do the target application settings in the setup tab.
The application that I want to use is an Essbase application and the steps for
setting up target application is as shown below.

The below is the snapshot
that you see when you choose the application. It will show the metadata for the
application and would ask you for setting the data in the table structure of
ODI.
Now by default all the
metadata would be mapped to Generic Target dimension class as shown in the
below snapshot.

I have tagged the members to be aligned with the proper
dimension category for this Demo. This is shown in the below snapshot. (Now I
have created this application similar to a Planning application. Plan to add a
couple more dimensions for later demo.)

Once done, I save all the changes.

I now do the application settings for the Sales application
like setting the location and stuff. This is as shown in the below snapshot.


The folder is created where all the files and processing
would take place as shown in the below snapshot.

Now I go to specify the import format and associated stuff.


The below is the file that I would be loading into the
application. It is a pretty straightforward file format.

Since the file is on my local system, I decide to upload it
to the server. Observe the location where it gets stored within the inbox
folder.


I map all the fields based on the dimension that it represents.
Fields in the comma-delimited file are mapped to corresponding target
dimensions.

Period mapping is done here. I would like to talk in detail
about period mapping since I find Period mapping to be one of the best features
of FDMEE.
Global mappings for Period dimension is done where I map
Jan-15 to Jan FY15.

Application specific mappings for Sales application is done
below.


Now I set the location for the FDMEE import format.
Snapshots after adding are shown below.


Now the under-the-hoods action is all done and we will now
start by creating a data load rule file for loading the data into the Sales
application.
This is the first screenshot that you will see before you
create a data load rule.

Click on the add button to add a new data load rule. It will
ask for name, Category, file type and import file format, all of which I have
filled as shown in the below snapshot. I can also choose the file name to
import. Once selected, click on the save button.

After the changes are saved, the data load rule will be
visible as shown in the below snapshot.

I now go to the data load workbench. This is the where all
the fishing happens (no pun intended). Initially, it will be bare as shown in
the below snapshot.

If you click on the import hyperlink, it will guide you to a
popup where you can choose which file you want to import and the import modes,
as shown in the below snapshot.

If the data import is successful, the fish turns orange. If
the fish is gray it means that something failed in that and the details of this
can be checked in the process details.
If you observe the below snapshot, the import is successful
whereas the validate failed and is shown in gray. (This is because no mappings
are defined for this rule file. More on this later)

In data load mappings, I define a generic mapping for
Account dimension and tag it to the rule file as shown below.

On importing the data back again, you can see that the Account dimension is now mapped as shown in the below snapshots.


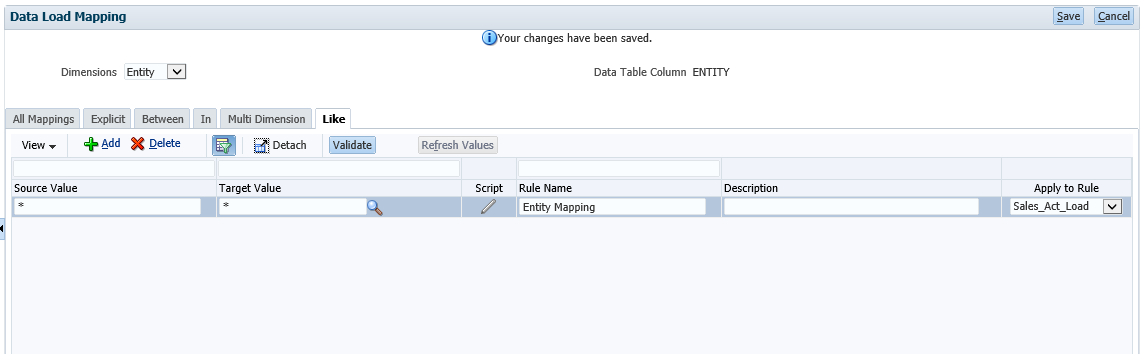
I now define mappings for Entity and Version as well as shown in the below snapshots


I now click on the export button to export the data to the target Sales application as shown in the below snapshots but it fails.


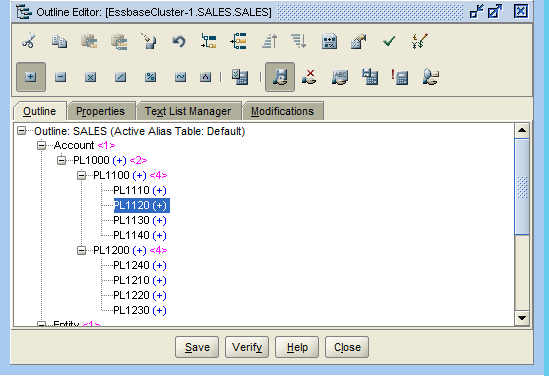
I now add the member PL1150 to the outline and push data to
the Essbase application and the export from FDMEE to Essbase happens
successfully as shown in the below couple of snapshots.


I then run a report script against the Sales application to
validate the data and it validates perfectly.

The fish is finally home in Sales. Do let me know what you
think…
Great docs Thanks Sibin,
ReplyDelete