In this blog, I will be talking about installing Hyperion EPM on a Linux blog. Since a Linux/Unix box may not always have a GUI associated with it, the installation of Hyperion EPM can be a bit more fun than the straight forward Windows install. In order to do an install on a Linux box, we would need the following components: -


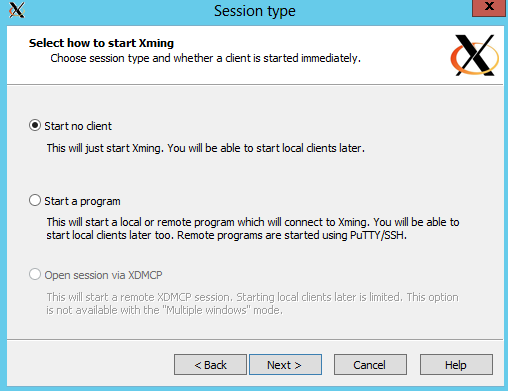
The next step is to configure the XLaunch on the local machine from which I would be running the install. The steps are shown in the next snapshot.

Observe the display number in the above snapshot. This is the XServer that will be used by us for X11 forwarding configuration.


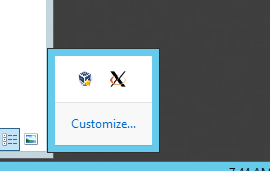

Expand the SSH in the above snapshot to configure the X11 port forwarding as shown in the next snapshot.
The XDisplay location is set as <IP Address of the local machine>:<display number set in XLaunch>
Since the IP of my Windows box is 10.0.2.10, I set up the X display location as 10.0.2.10:0

The next snapshot shows the configuration of my environment.

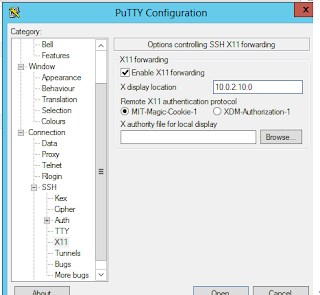
The next snapshot shows me running through the steps of the install.


- An X Window System. We would be using XMing as an X Window System. An X Server is a program in the X Window system that runs on local machines (i.e. a machine directly used by an end user) and handles access to the graphical cards, display screens and input devices. The X window system is a complete, cross-platform and free client-server system for managing GUI’s on single computers or networks of computers. Simply put, the X Window system will basically act as the endpoint for all GUI operations on a machine that does not have its own GUI. XMing is an X11 display server for the Windows OS.
- An SSH connection to the remote Linux machine on which the installation is being done. In order to connect to the Linux box, we would be using Putty which is a free and open source terminal emulator.
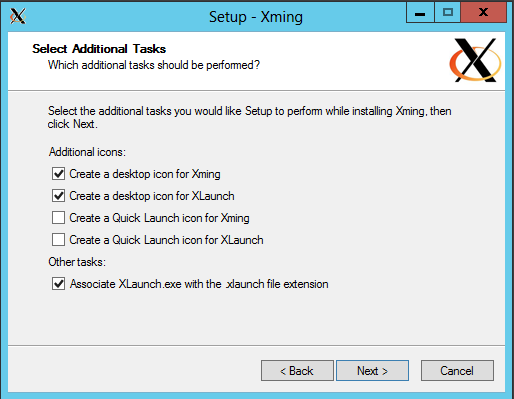
The next snapshots show me installing the XMing Display server on my local machine which is a Windows box.


The Linux box on which I am trying to connect is a Red Hat Enterprise Linux machine with machine name RedHatLinux and having IP address 10.0.2.7. This is shown in the next snapshot.

The next snapshot shows me connected to the remote machine and running a basic sanity check command on the Linux box.

The next step is to configure the XLaunch on the local machine from which I would be running the install. The steps are shown in the next snapshot.

Observe the display number in the above snapshot. This is the XServer that will be used by us for X11 forwarding configuration.


On clicking the Finish button in the above snapshot, the XMing server is started as shown in the below snapshot.
Now, the next snapshot shows the login screen for Putty.

Expand the SSH in the above snapshot to configure the X11 port forwarding as shown in the next snapshot.

The XDisplay location is set as <IP Address of the local machine>:<display number set in XLaunch>
Since the IP of my Windows box is 10.0.2.10, I set up the X display location as 10.0.2.10:0
(In layman term this means, any GUI component on 10.0.2.7 should be redirected to the X Display location machine 10.0.2.10 to the display server on that machine which is 0)
The next snapshot shows me running the EPM installer start shell script, installTool.sh.

Observe that the display is running on the local machine/Windows box.
The next snapshot shows the configuration of my environment.

The next snapshot shows me running through the steps of the install.


Observe that the installation is successful as shown in the above snapshot. Thus, we were able to successfully run an install on a Linux box using the X window system and Putty.